The next morning in class, we were introduced to archaeological vocabulary, necessary to accurately understand and describe stone artefacts. We learned how to describe the physical characteristics, such as: ventral (internal) and dorsal (external) sides of a flake; cortex, or the external skin of the original rock; and negatives (signs of a flake removal) and positives (the flake or removed piece itself). Additionally, we discussed some of the key physical features of rock fracture mechanics, related to the visible distribution of force throughout the raw material. Examples of these features include a striking platform (the point or platform on a flake where it was initially struck); a bulb of percussion (a rounded bulb on the ventral side, radiating out from the striking platform); and conchoidal fractures (concentric ripples, indicative of a particularly powerful strike).
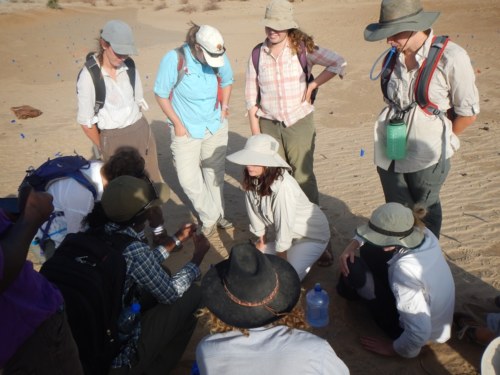
In the afternoon, we traveled to the nearby Holocene site of Ayangiyeng where stone artefacts abound on the surface, fun in both name and content. The site borders a playa, or seasonal lake, and artefacts litter the banks of this clay pan. Though the age of this site preceded what would be discussed in class for several days, it served as an important exercise in recognizing spatial distribution and identifying key features on artefacts.
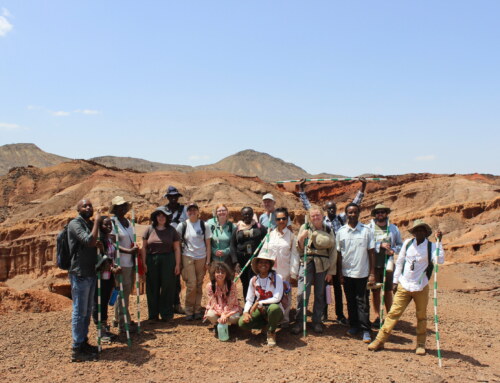
The students gather round as Dr. Professor Harmand describes the site of Ayangiyeng.
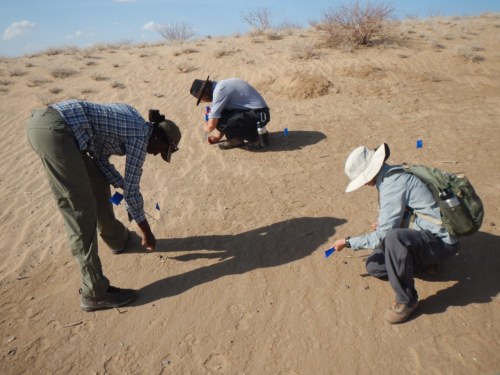
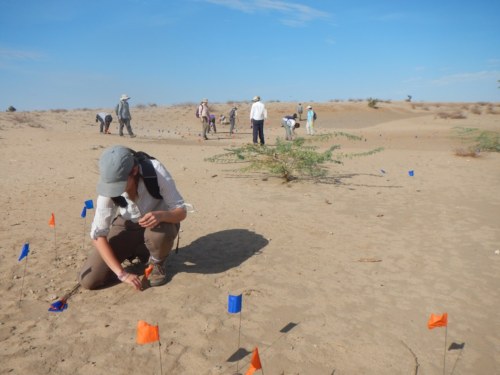
First, the students spread out and flagged all of the artefacts they found, all starting from a particular point and working westwards. Because of the abundance of stone artefacts at this site, the students tip-toed around so as to not step on any. In fact, they ran out of flags before even getting close to marking every artefact. Note the spatial density in the pictures below!
Esther, Carla, and Jon flag stone artefacts.
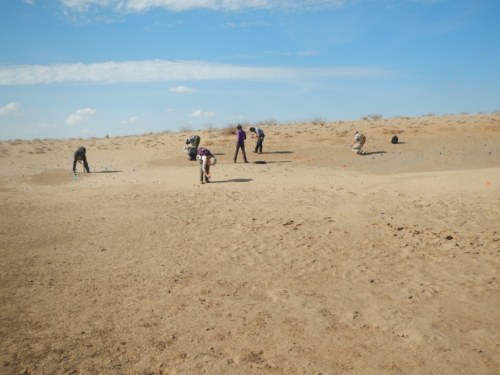
The students mark tools on the bank of the playa (the vegetation marks the top-most region of the bank).
Millie searches for another stone tool in this cluster as students work in the background.
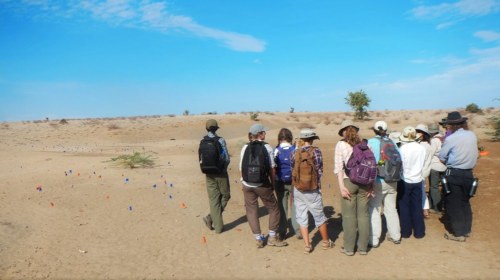
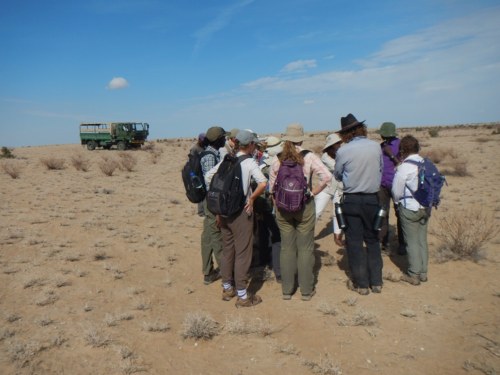
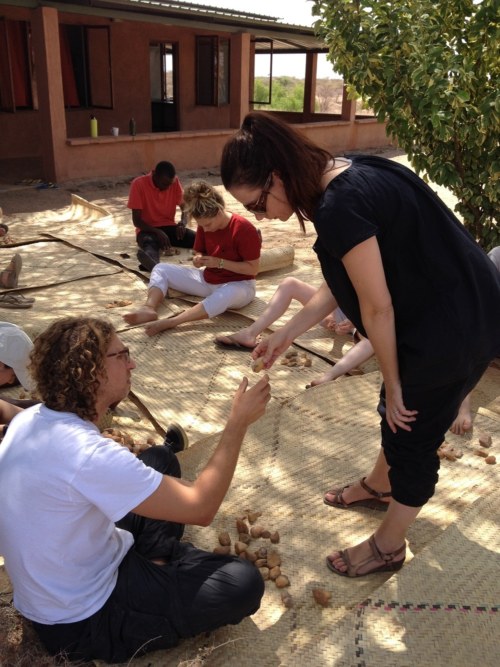
After using all of the flags, Dr. Professor Harmand discusses the artefact density at this site. Each flag marks a single artefact!
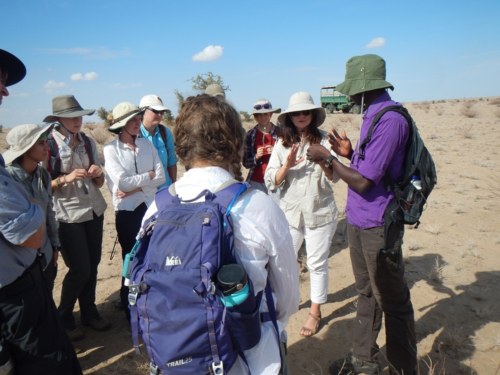
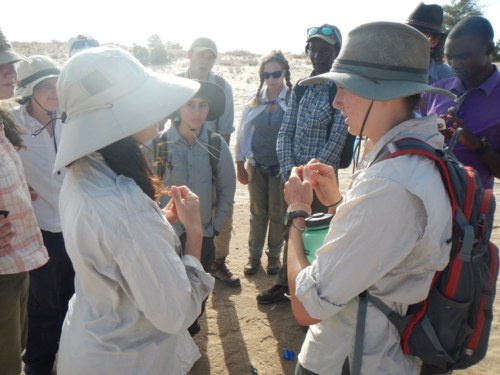
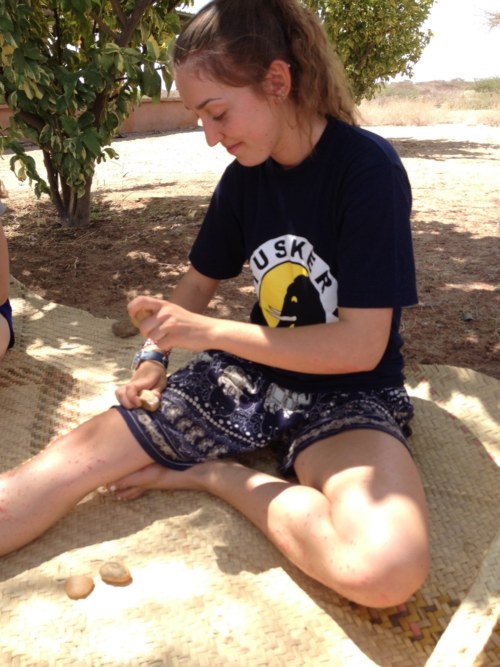
Then, each student was asked to choose an artefact and describe it to the class. Students chose flakes, cores, hammerstones, and even pieces of pottery!
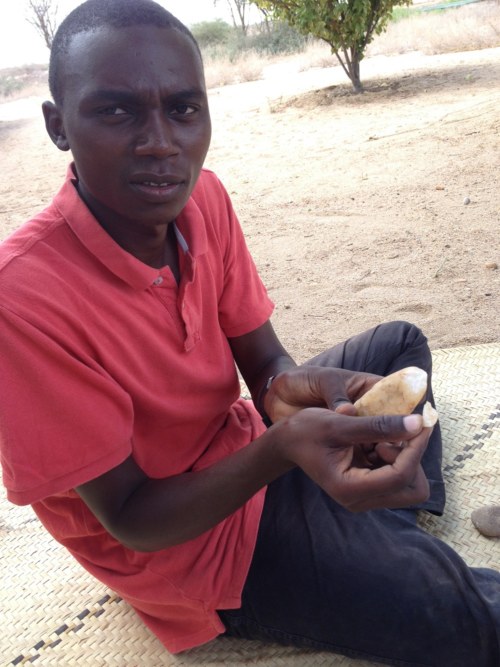
Tobias explains to the group the tool he has found.
Esther discusses a piece of pottery with Dr. Professor Harmand.
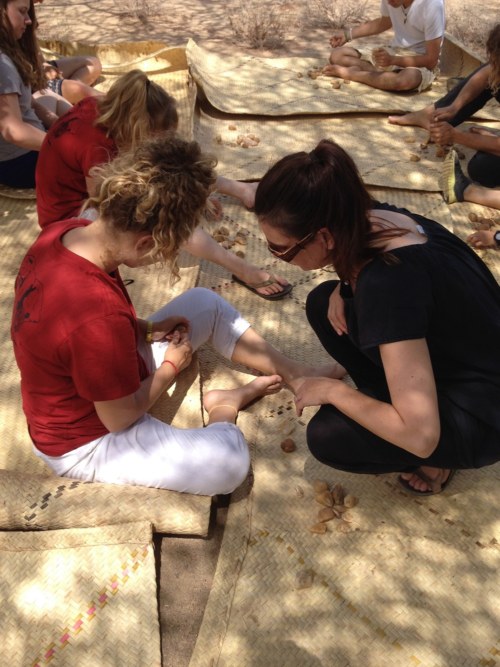
The students listen closely as Danielle explains how she knew her tool was a flake.
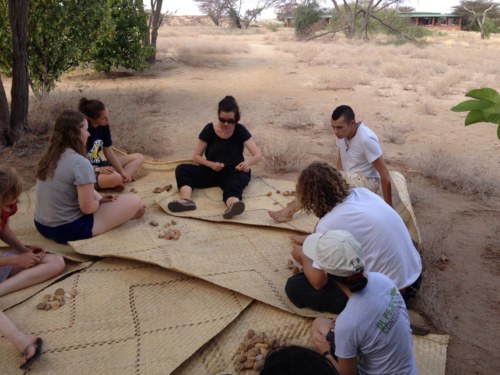
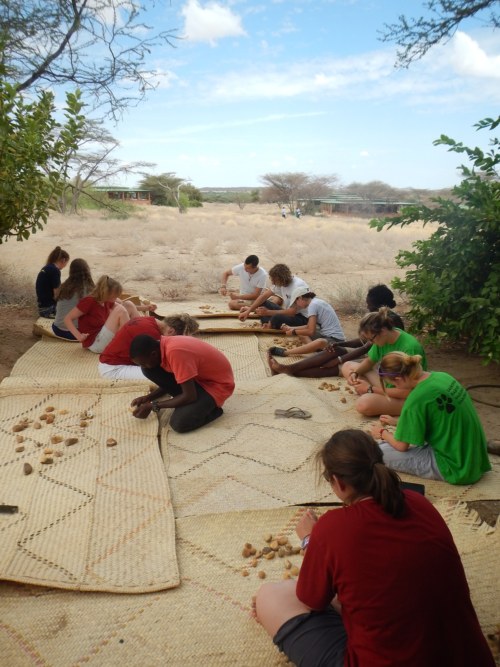
The next day, we practiced knapping for the first time (not to be confused with napping, a skill most students have perfected in the afternoon heat)! Though next week we will spend more time knapping, this introductory session is important to help understand the general concepts we have been learning in class and to start training the hands to hit where the eyes tell them to (the stone, rather than thumbs—Jon, proud owner of a purple thumb, can personally attest to the difficulty). Quartz served as our raw material, and though it is rather difficult to knap, the sheer abundance in the surrounding area of the TBI campus made it an ideal practice material.
At first, the students struggled to produce intentional flakes—simply breaking a core or hammerstone is not enough! Soon though, under the tutelage and instruction of the expert Dr. Professor Harmand, every student saw flakes fall off right before their eyes! Three important rules for knapping are: using tangential force rather than vertical (so instead of striking straight down, striking across the rock, in a diagonal direction); striking a correct location on the core to produce a desirable flake (near an edge rather than in the middle); and absolutely no napping while knapping!
Dr. Professor Harmand explains the mechanics of tool knapping.
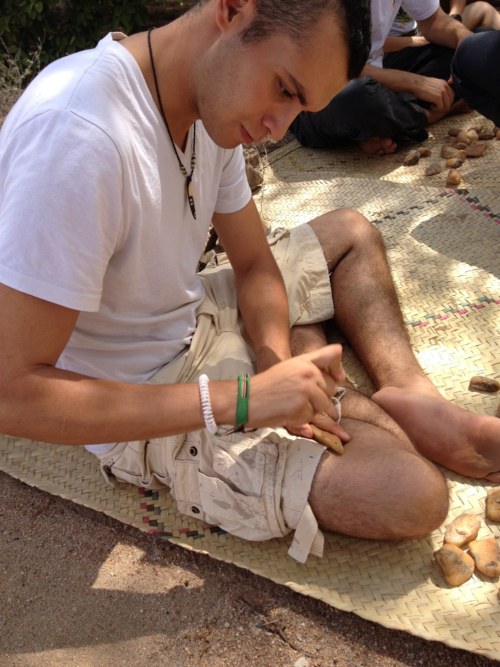
Jon strikes through this quartz core with tangential force!
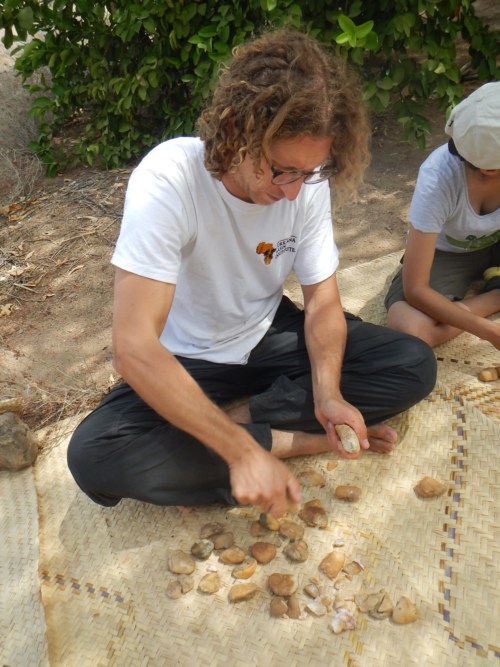
Carla’s TBI hat inspired her to collect a lot of cores to knap!
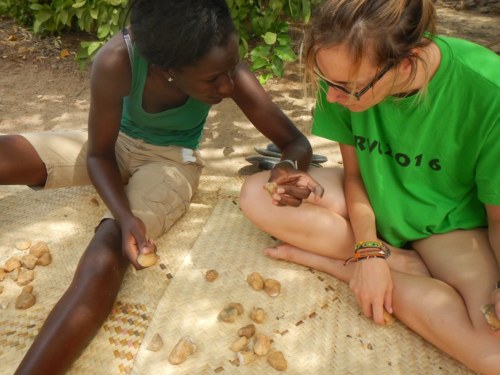
Esther discusses the bulb of percussion on this flake with Danielle.
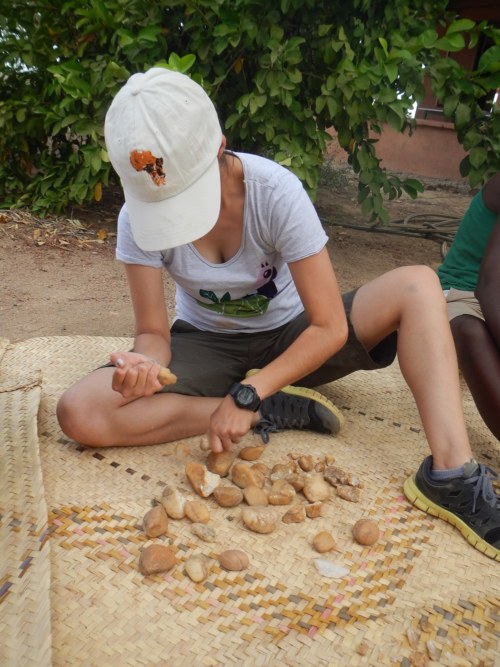
Max concentrates in an attempt to strike the core rather than his leg (he was successful).
Tobias faces away from the students after a flake from his core attacked Esther (she survived).
Tobias is confused about the flake he made!
Dr. Professor Harmand explains to Jon why his strike produced two flakes.
Millie finds peace in knapping.
Dr. Professor Harmand compliments Kathryn on her flakes!
The next day in class, we learned the history of tool-making, with emphasis on the main similarities and differences between the Oldowan and Acheulean industries, (including, but not limited to, the fact that the Oldowan are the older ones). The Oldowan, which pre-dated the Acheulean by close to a million years, is often characterized by simple cores and flakes, the latter being the main tools produced. Contrarily, the Acheulean is the bifacial shaping of a rock, frequently to produce a handaxe.
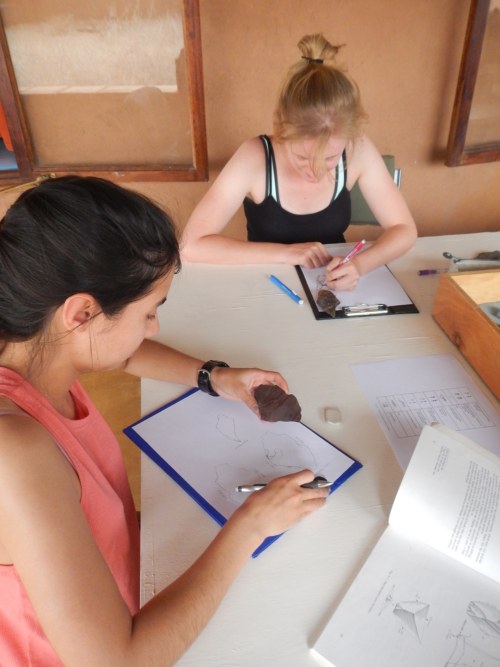
An important skill in archaeology is to be able to accurately depict a stone tool, clearly denoting points of archaeological interest such as bulbs of percussion and conchoidal fractures. We took to the lab to practice this skill, working with TBI-Turkwel’s archaeological teaching collection. Drawing stone tools was a great exercise in both identifying key features on artefacts but also in practicing a vital archaeological skill!
The students were asked to draw lithics from both the Oldowan and Acheulean, to ensure that they understood them both!
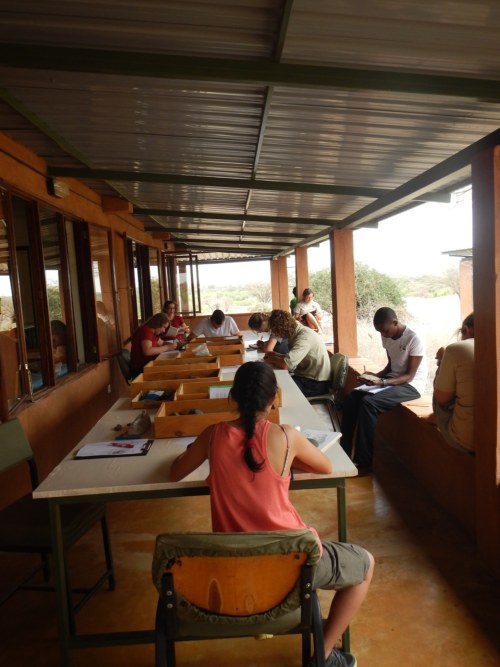
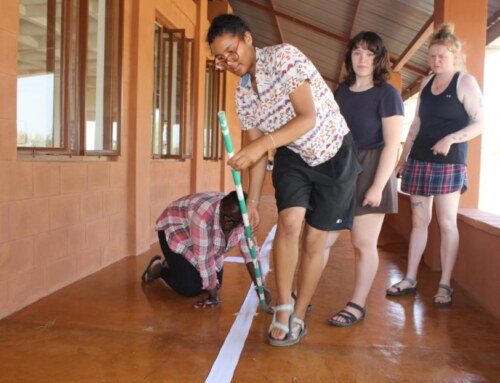
The students spread out on the veranda to draw their stone tools.
Danielle meticulously draws each side of this flake.

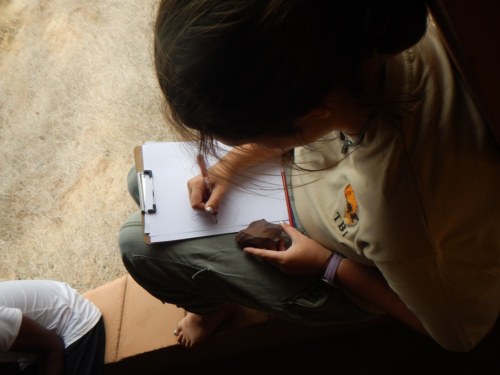
Jon closely examines this tool to ensure he hasn’t missed an important feature.
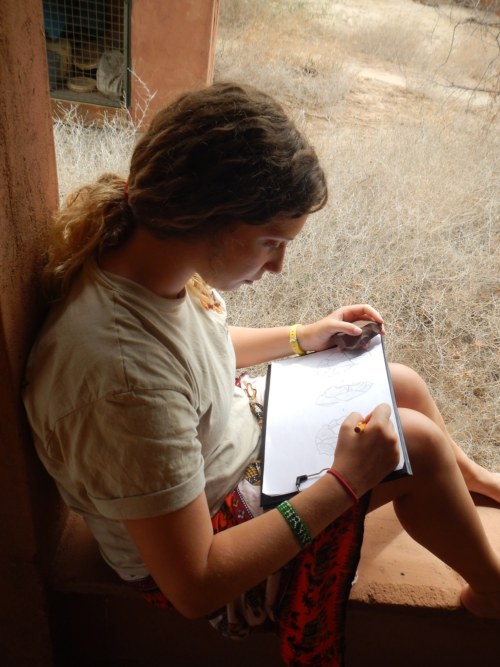
Morgan sketches the dorsal side of her flake
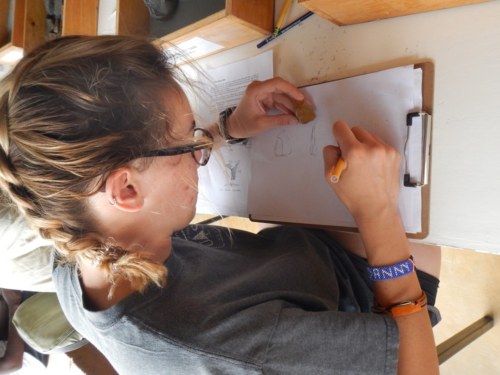
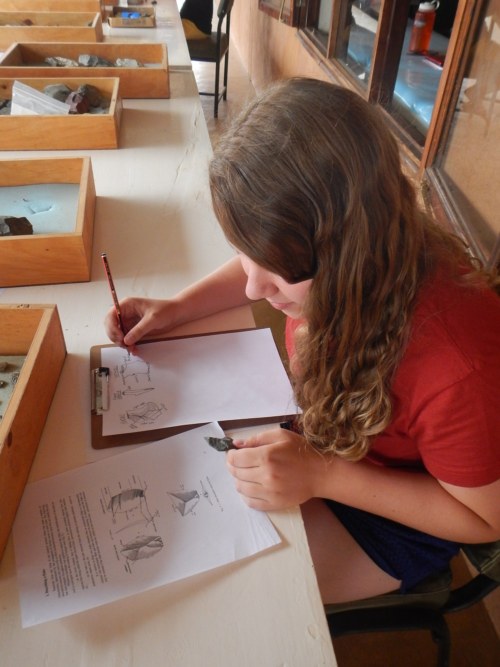
Kathryn hard at work, adding a few finishing details to her sketches
Yvette uses the example sketch as a guide to label her flake correctly