The second week of Paleontology was primarily spent in the field: for four of the six class days this week, we spent the entire day in the field, using what we learned in the previous week to find and identify fossils. Though a majority of the time was spent prospecting, we also learned the methods fossil hunters use to excavate and sieve, and even had the exciting opportunity to practice them!
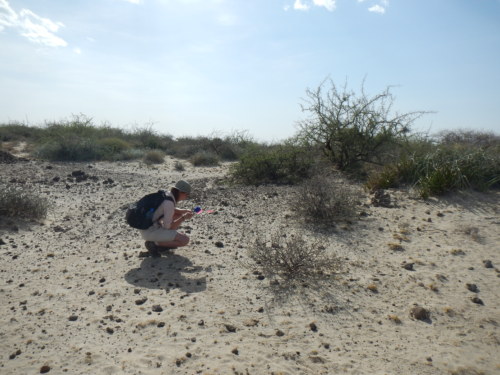
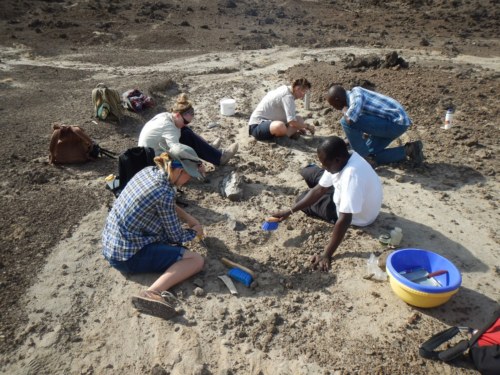
While in the field, paleontological teams spend the majority of their time prospecting. Prospecting is paramount to a team’s success, and a necessary first step: before one can successfully excavate or sieve, you must find an area or specimen you are interested in! Doing so is not always easy, and prospecting requires great diligence and patience, but precisely for that reason it is that much more rewarding when you are met with a great fossil discovery! When a team prospects, the members spread out in the specified area of interest and spend their time combing the ground with their eyes (and hands!) for fossils. Because fossils come in all shapes and sizes, some can be minuscule, either because they are remnants from small mammals or because they have been broken into smaller pieces. As such, sometimes fossil hunters will sit or even lay on the ground to get a closer and more intensive view of the area they are investigating!
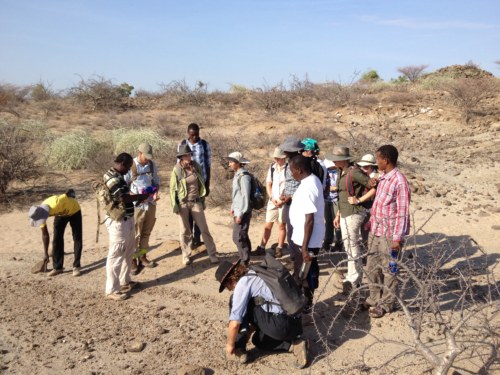
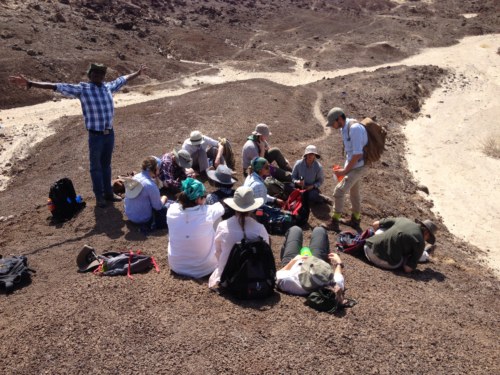
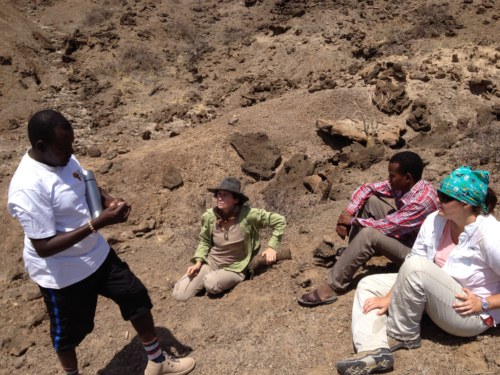
Apolo and Dr. Miller address the outline for the day with the students.

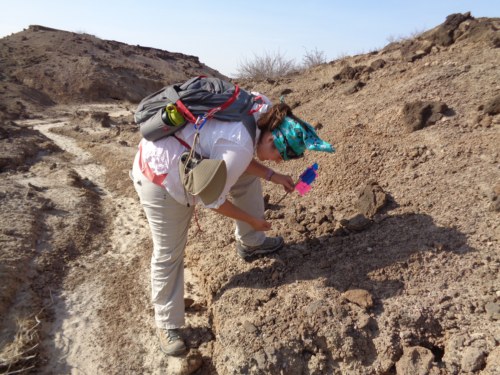
Danielle meticulously looks through the sediment in this area for smaller fossils.
Morgan closely examines this specimen to determine what it could be!
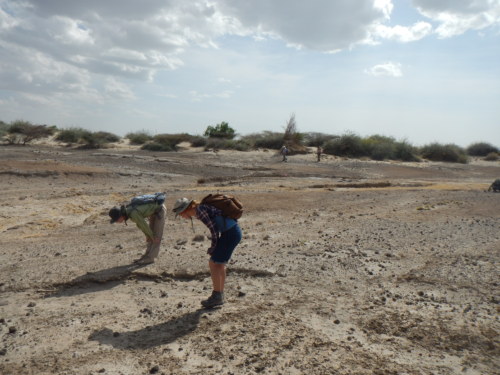
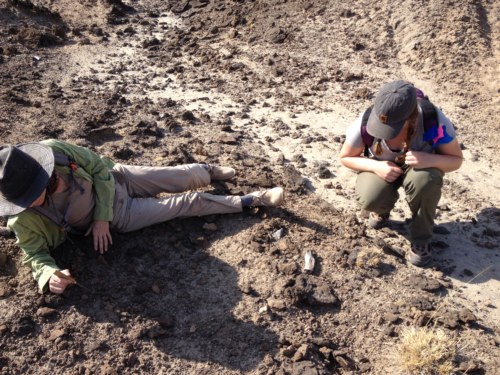
Dr. Miller and Emily strike similar poses as they both search for fossils.
Esther reaches for a flag to mark a specimen as Tobias searches the surrounding area.
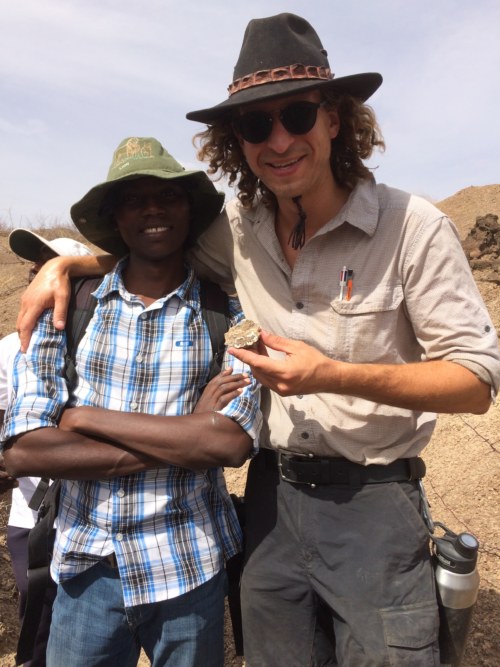
Millie examines a fossil she has found!
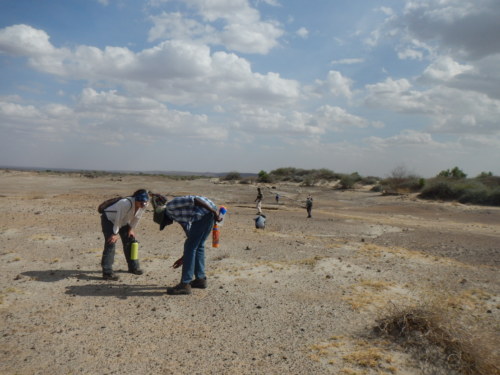
In the foreground, TA Jayde discusses with Tobias what he may have found; behind them, the students fan out to search the area.
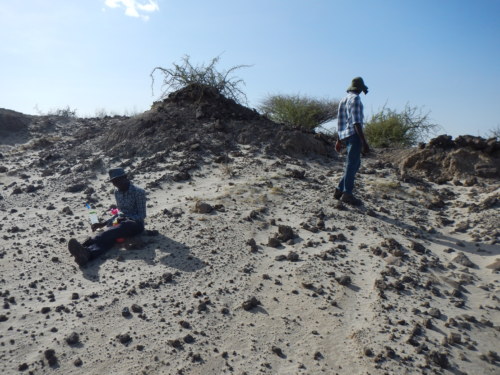
After several hours of prospecting in the sun, the students took a quick snack break. Danielle, on the far right, can’t seem to stop searching for fossils.
Dr. Miller and Yvette are hard to work combing the ground for fossils!
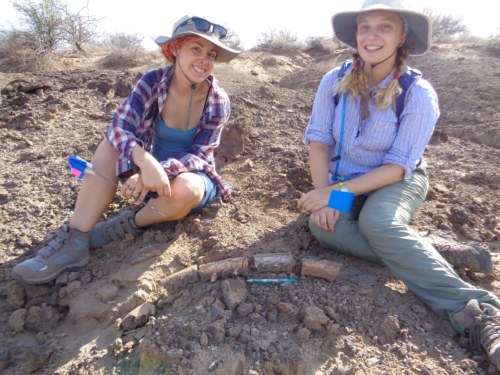
Emily and Kathryn found several pieces of an ancestral crocodile jaw!
Dr. Miller, William, and Morgan wait for the verdict as Malmalo examines their find!
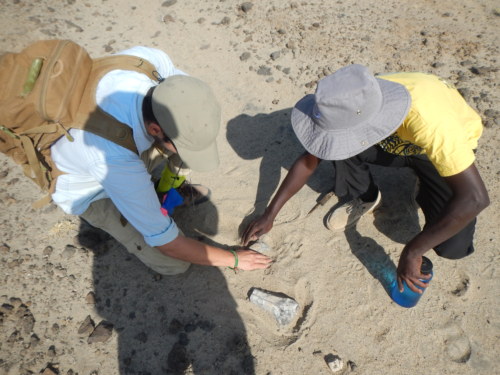
Sale and Max carefully remove sand from around this fossil to get a better look at it.
Jon found fossilized teeth from a cercopithecine, members of the primate family! This was a great find!
When a team or member has found a fossil specimen they want to collect that is still in situ, they must be very careful when excavating it. Rather than trying to extract the specimen precisely from the surrounding sediment, a portion of the area is extracted with the fossil to ensure it is not damaged during the procedure. Because the process is handled with painstaking care, it can be lengthy, but as our students discovered, there is a pleasure that comes from interacting with these ancient and important fossils with such intimacy! The photos below outline the excavating process which for us included a large hippo mandible and long bones with still intact articulating ends.
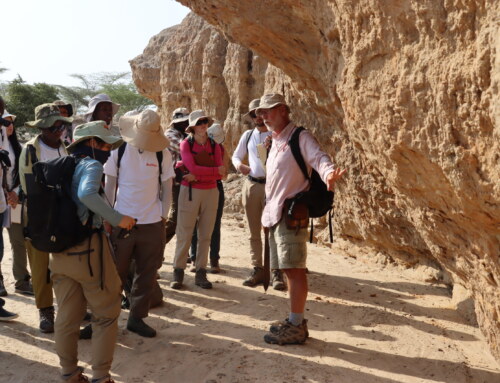
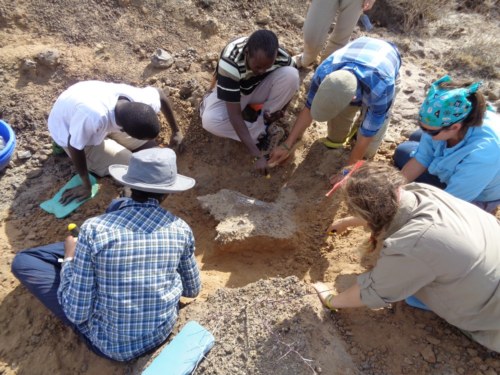
The beginning phase of excavating is clearing the area surrounding the fossil!
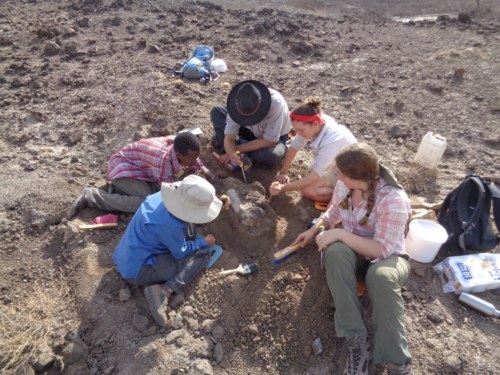
This group clears and begins to remove as much sediment as possible from around the specimen without getting too close!
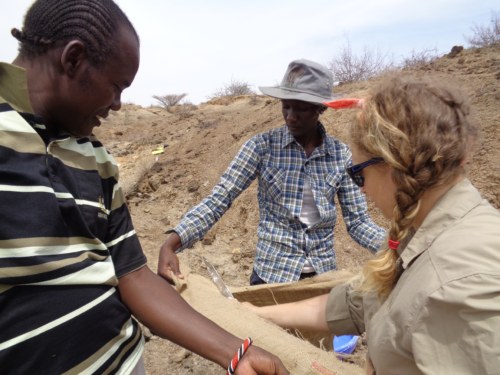
Malmalo instructs Emily and Natalie in how close they should clear around the specimen.
Apolo instructs his team of students about their next step!
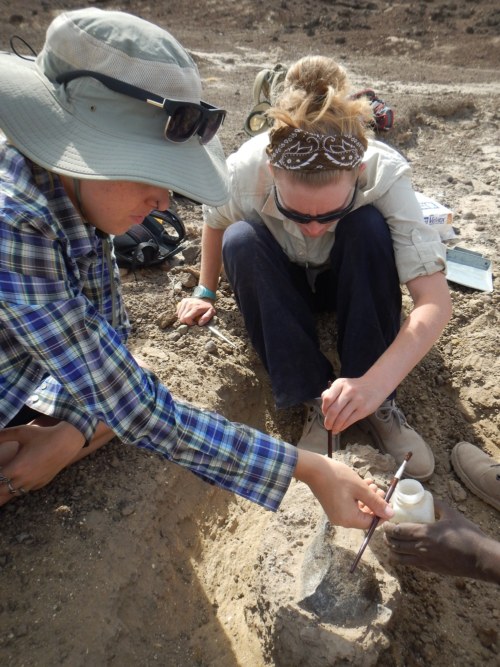
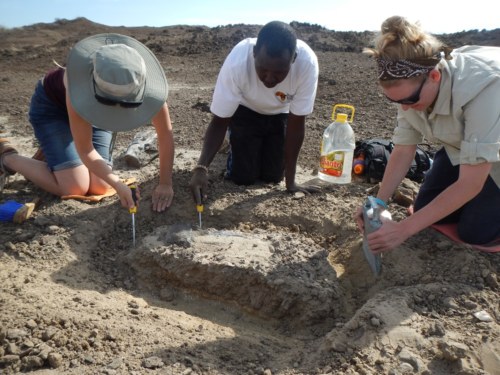
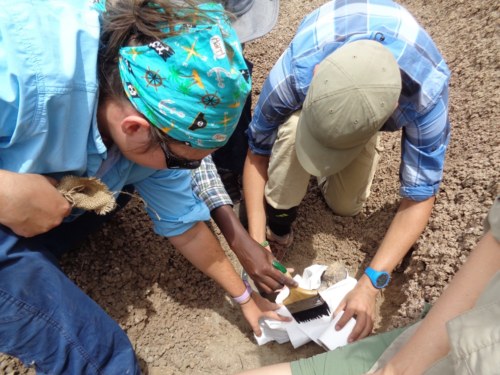
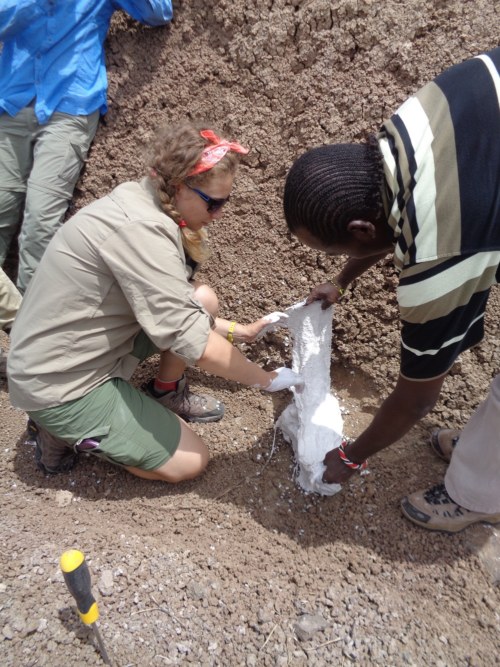
Emily and Natalie apply betacryl, a consolidant, to further protect the fossil during excavation.
The next step is to apply a buffer layer of toilet paper to ensure the plaster jacket doesn’t get stuck to the fossil!
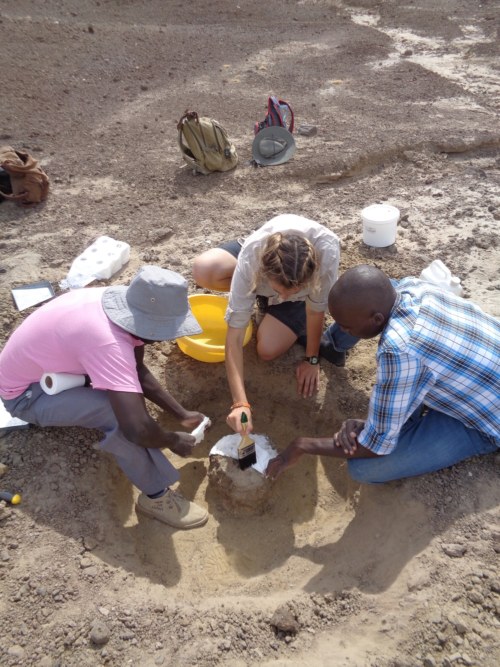
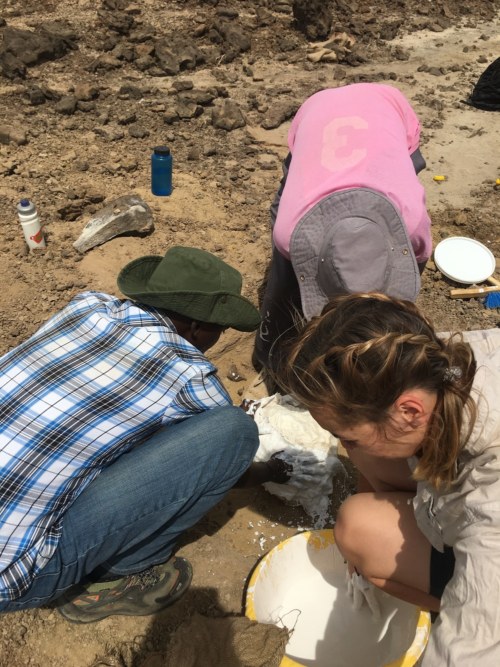
Sale helps Danielle and Tobias apply toilet paper to the specimen they are excavating.
Malmalo and Natalie hold the toilet paper in place as Emily applies water.
Esther paints on water as Max and Morgan secure a layer of toilet paper.
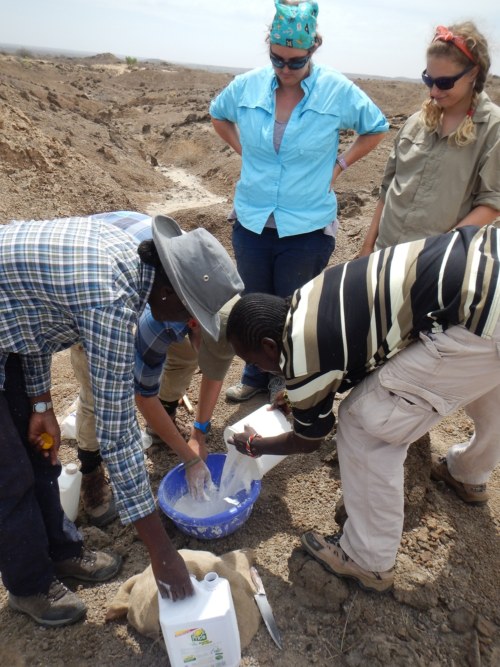
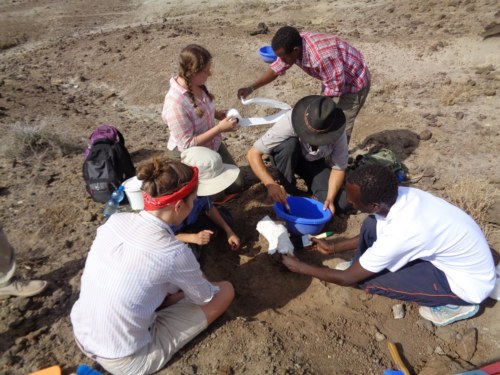
Apolo helps Esther and Max mix their batch of plaster.
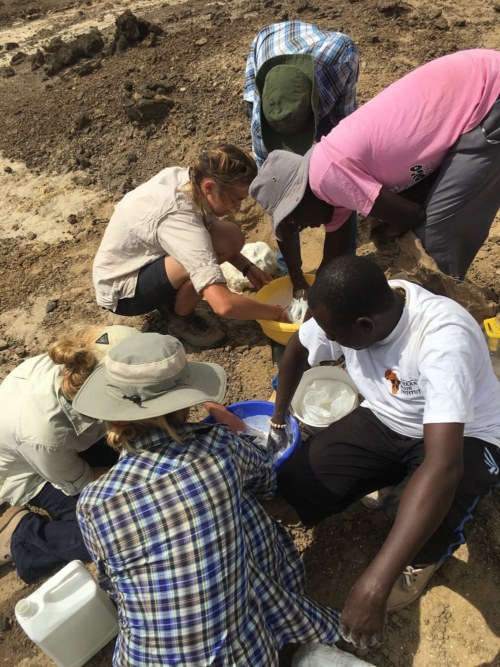
Malmalo and Sale watch as Emily and Natalie, and Danielle and Tobias, respectively, mix their batches of plaster.
Burlap strips are soaked in the wet plaster and layered onto the specimen. After it dries, the plaster jacket is very sturdy and keeps the fossil safe!
Apolo and Kathryn apply the plaster-soaked burlap strips to the fossil.
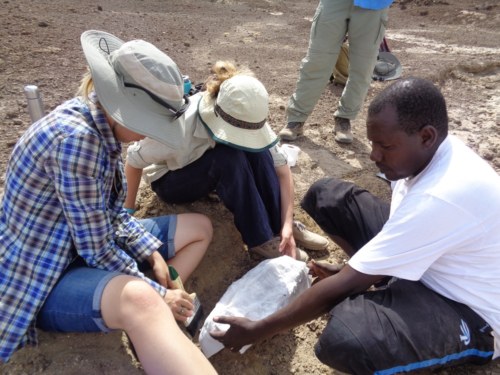
Sale, Tobias, and Danielle plaster their specimen.
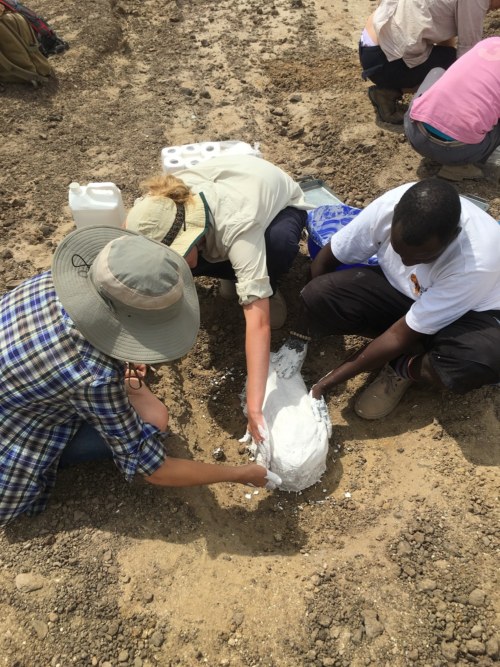
Malmalo, Emily, and Natalie put the finishing touches on their plastered project!
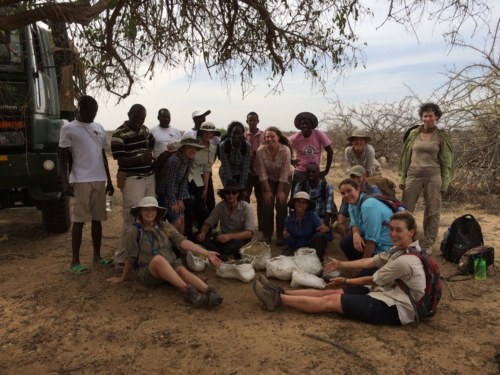
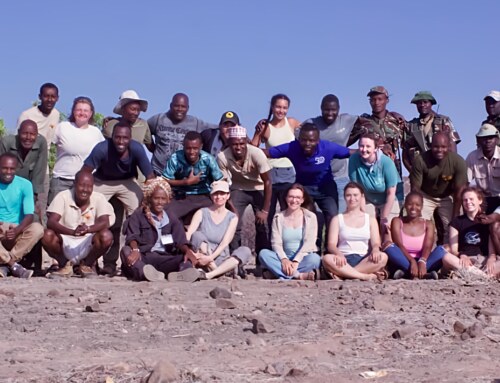
After a hard day’s work, this team of both expert and budding paleontologists left the field with several beautifully plastered fossil specimen!
Following excavation, the fossils, encased in their sturdy plaster jackets and the surrounding sediment, are brought to the fossil preparation labs, where world-class preparators will clear off the matrix around the fossils (the same process our students had the opportunity to try their hands at!). In fact, after our days in the field, the students loved preparing fossils so much that they returned during some of their spare time to continue clearing matrix!
Stay tuned for the next blog, where we will discuss the students last two days in the field, where they prospected, and after some great finds, sieved the surrounding area to hopefully find some missing pieces!